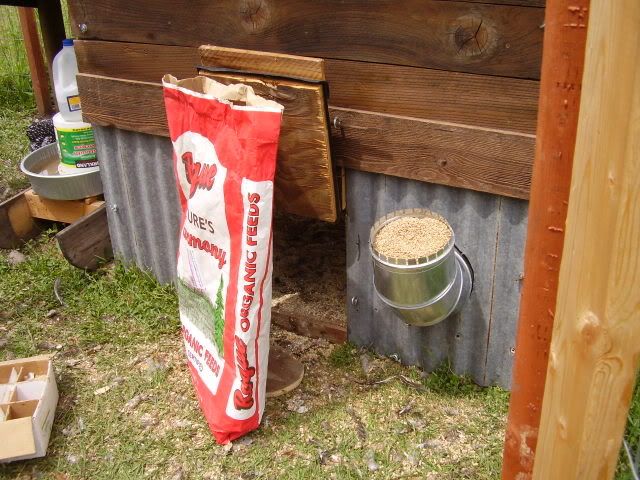
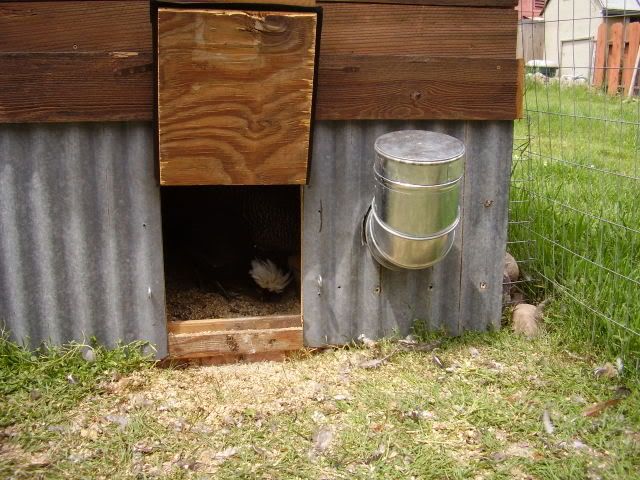
The idea with the new feeder was this; I wanted to have the food access be inside the coop, but the food refilling be outside the coop. Simple, right? I thought about this for a while and decided that what I really needed was some kind of feeder tube that went through the wall. What is a tube that goes through walls? Duct work tubes! Where can I find duct work tubes? My favorite place! The used building supply place!
So here are the steps to building a new feeder.
1) Think up the design for the new feeder.
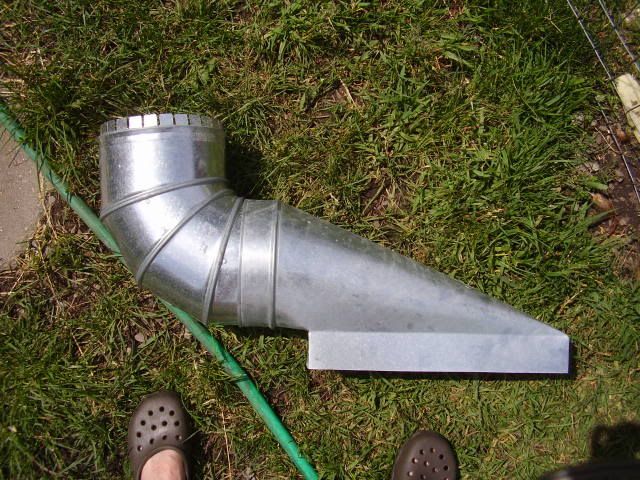
2) Go to the used building supply place and spend $2 on four old ductwork fittings. The pieces I bought were; end cap (to cover the feed from the outside), double end fitting (to allow the cap to fit on the next piece), 90 degree elbow (to tilt the tube through the wall), and rectangular register fitting (to dispense feed into the bowl).
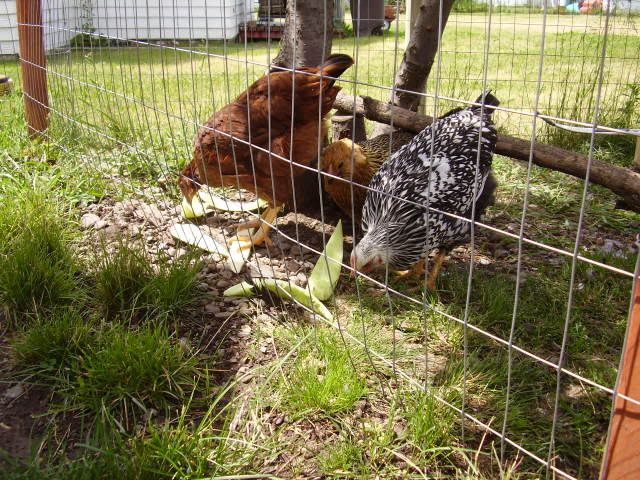
3) Distract hens with honeydew melon rinds. Mmmmmmmm... tasty.
4) Assemble ductwork fittings on the lawn and take measurements.
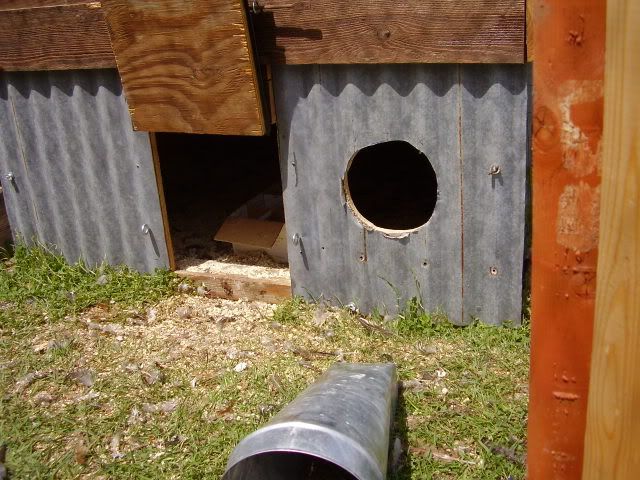
5) Cut a big hole in the wall of the coop with the reciprocating saw and a spade bit. Fun! Super duper deafeningly loud with the corrugated tin!
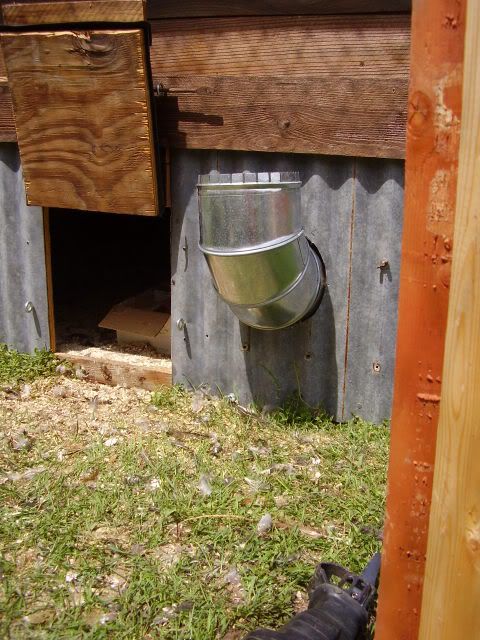
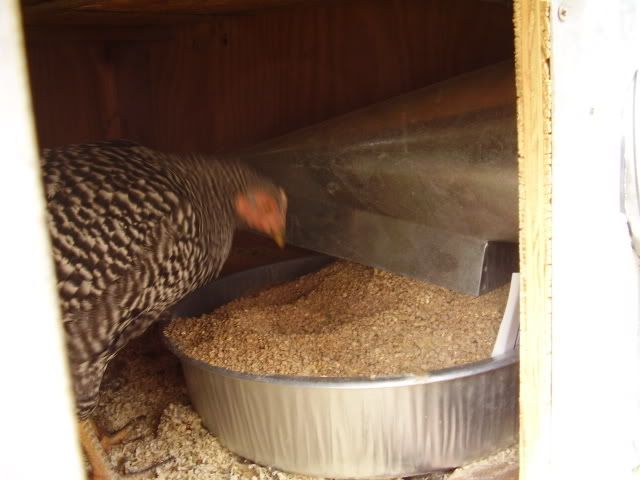
6) Re-fit ductwork together inside (register/dispenser and food pan) and then attach the outside tubes from the outside (90 degree elbow, double end fitting).
7) Fill with feed to test system
8) Place cap on new feeder
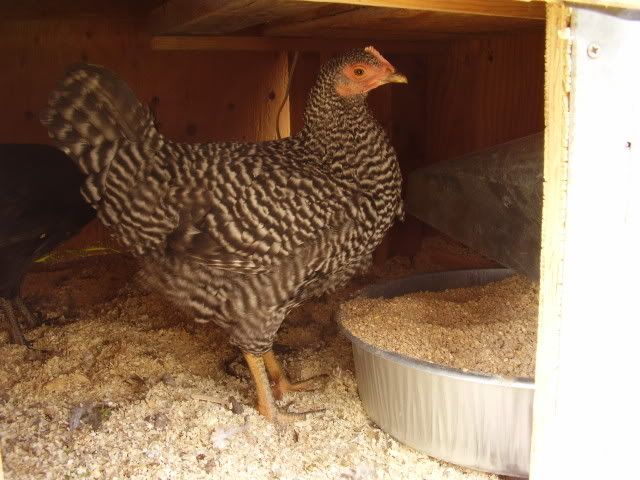
9) Watch as dominant hen, Biggie Rockette, immediately attacks new feed. Go Biggie! Good hen!
Now all I need to do is fill the small gaps from the rough cut I made in the wall of the coop. It is hard to cut an 8" diameter hole in 1" of plywood and corrugated tin, with a reciprocating saw. I'm thinking expandable insulating foam plus some kind of "cuff" to keep the hens from pecking at the foam. We'll see how that turns out. For now the weather is nice enough that those gaps are not a problem.
No comments:
Post a Comment